

Getting more vegetables into your diet to start the new year doesn't have to be boring.
Scripps News food and wellness contributor Jessica DeLuise and her mom show us how to make gardeniera, a colorful mix of pickled vegetables that’s as practical as it is nostalgic.
Gardeniera
Ingredients
- 6 cups white wine or apple cider vinegar
- 6 cups filtered water
- 3 large carrots, å and cut into 1-inch pieces
- 3 ribs of celery, cut into 1-inch pieces
- 2 bell peppers, cut into slices
- 1 head of cauliflower, cut into florets
- 6 bay leaves, or 1 per jar
- 2 tbsp pickling spices
- 1 tbsp peppercorns
Optional - Fresh parsley, about 1 tbsp per jar
- Whole garlic cloves, about ½ -1 per jar
Instructions
- Sterilize your jars. Use new lids. Allow them to air dry.
- Prepare your vegetables by washing, peeling as needed, and chopping into uniform pieces.
- Set the prepared vegetables aside.
- Add water and vinegar to a large stockpot.
- Bring the mixture to a gentle simmer over low–medium heat.
- Carefully add the vegetables to the pot, one type at a time. For example, celery first, then remove and add pepper, and so on.
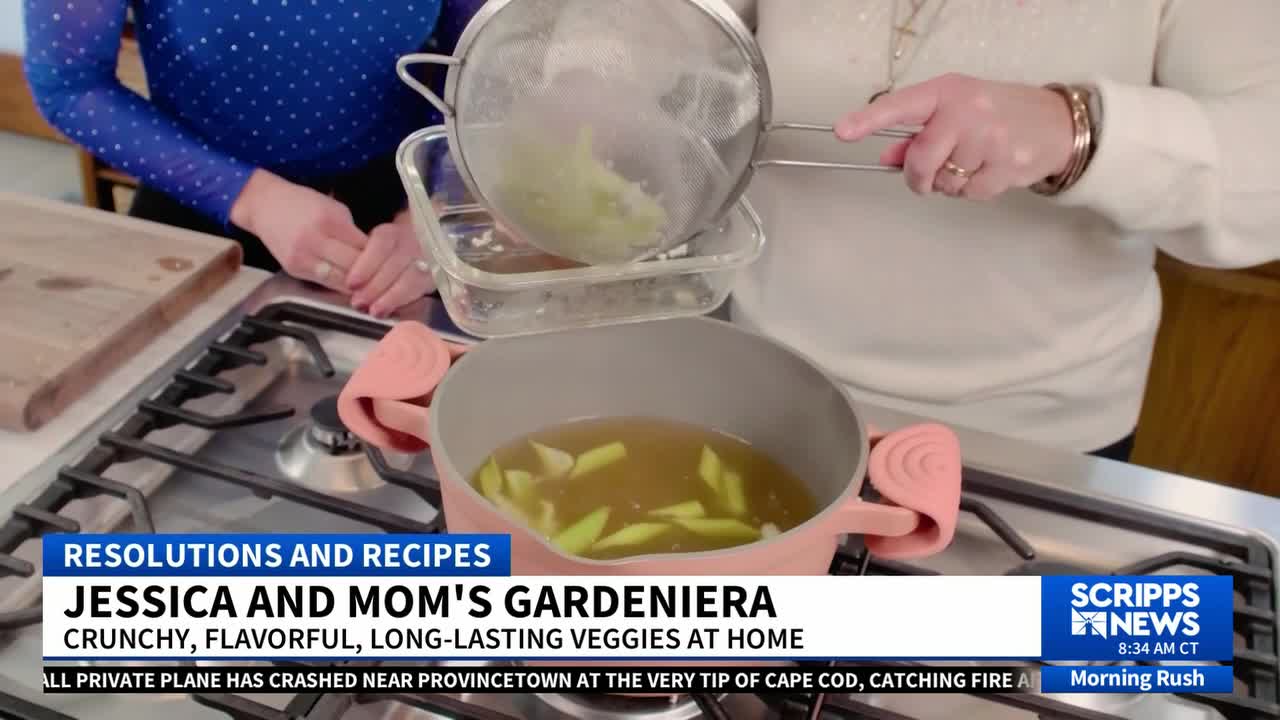
- Cook each type of vegetable for about 2-3 minutes, just until it barely begins to soften but still holds its shape. This is called blanching.
- Use a stainless steel strainer or slotted spoon to remove the vegetables and transfer it to a heat-safe bowl. BE CAREFUL.
- Repeat until all vegetables have been lightly blanched.
- Reduce the heat under the stockpot to low and keep the vinegar mixture hot.
- Add the spices to each jar in equal amounts.
- Pack the warm vegetables into the jars, keeping them below the neck of the jar. Pack them down tightly.
- Carefully ladle the hot vinegar mixture over the vegetables using a funnel, making sure all the vegetables are fully submerged.
- If needed, prepare an additional vinegar-water mixture at a 1:1 ratio and bring to a simmer before adding to the jars.
- Gently tap the jars to release any air bubbles and top the jars off with more liquid if necessary.
- Wipe the rims of the jars clean. Then, place the circular, stainless steel jar lids on the top of each jar. This is called the ‘seal lid’.
- Add the screw-on lid rings to the jar and loosely screw on to hold the center seal lid in place. DO NOT screw the rings down tightly yet!
- Allow the jars to cool completely at room temperature.
- Once cooled, check the seal lids. The center ‘pop-up’ tab should be suctioned down into the jar and should not move up and down. This indicates the jar has been sealed. If it moves/ pops, your lid is not sealed.
TIP: IT IS OKAY if your jars are not sealed. BUT, if this is the case, you must store these jars in the refrigerator and consume them within a few days. - Once completely cooled, you may tighten the lid ring.
- Label each jar with the contents and preparation date.
- Then, you can transfer your jars to the refrigerator or IF SEALED, you can store them in a cool, dry place, like a basement.
- Allow for at least 48 hours before using to allow flavors to develop.
