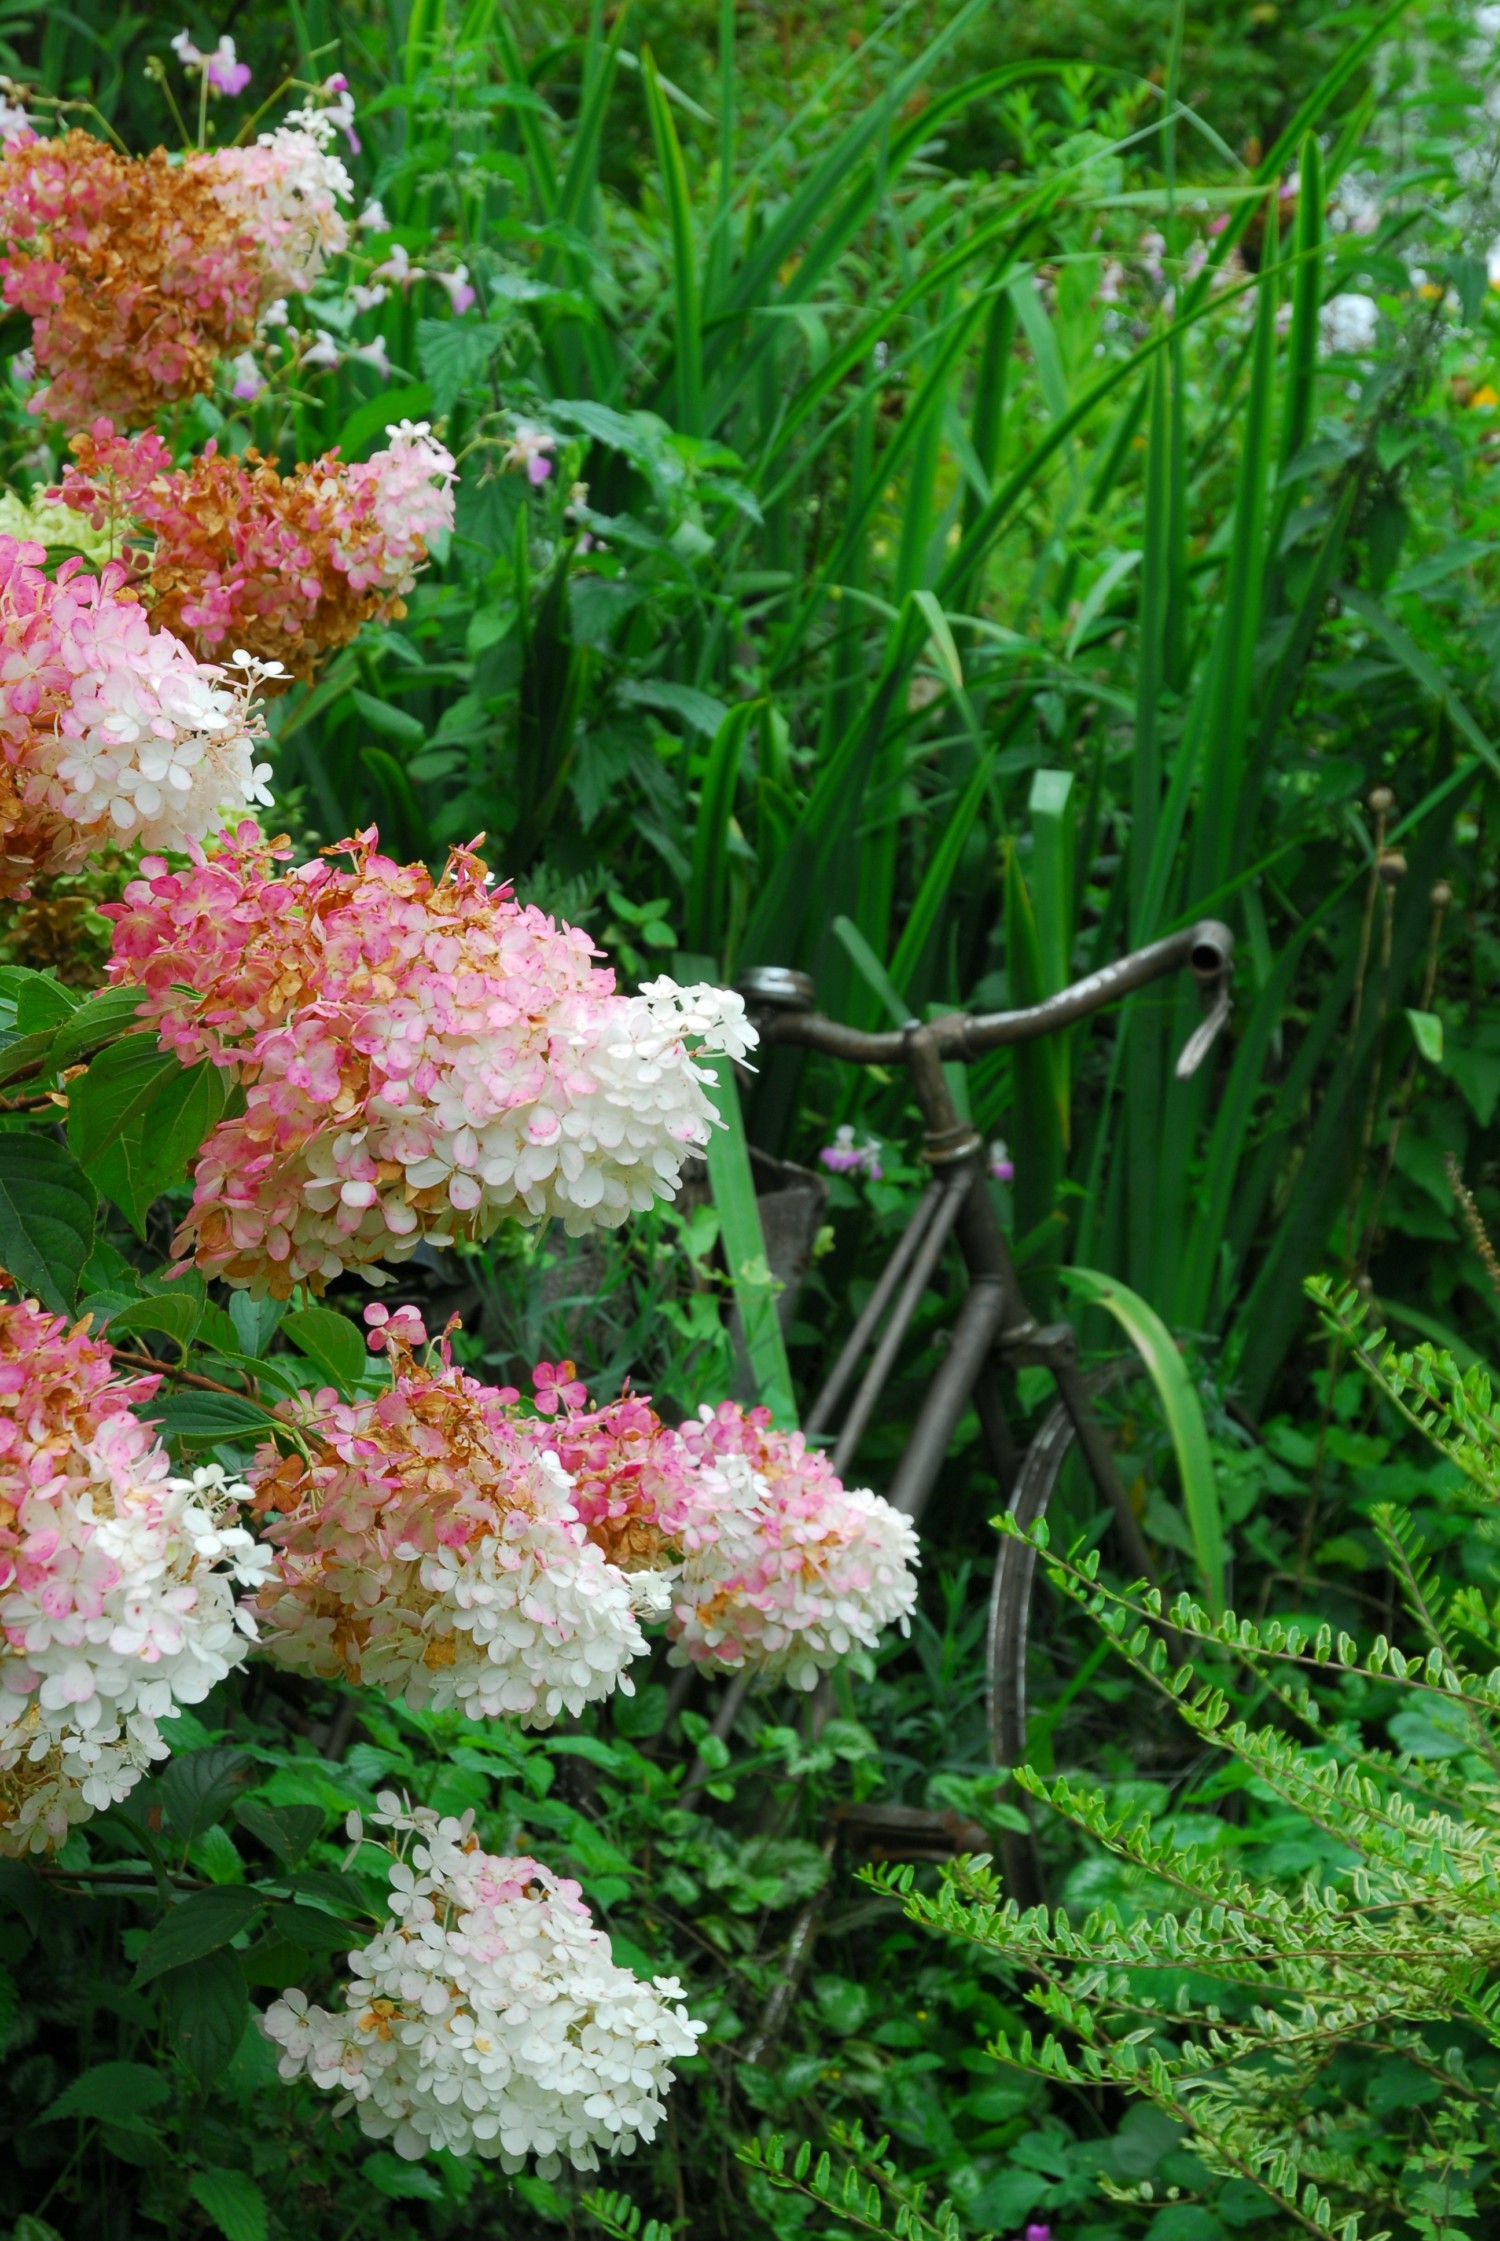
When businesses first closed down because of the coronavirus pandemic, I began taking walks around my neighborhood, which, as an indoorsy person, is not a thing I did before. And on my walks, I began to notice things I’d never noticed before. The weeping cherry blossom tree in a neighbor’s backyard. The tiny bluebells planted alongside someone else’s driveway. And my favorite flower of all? The hydrangea.
While most of the hydrangeas I see tend to come in a brash pink or a soft bluish-purple, there’s another variety you may not know about that’s simply stunning: the Hydrangea paniculata ‘Renhy’, or Vanilla Strawberry hydrangea.
The Vanilla Strawberry hydrangea was bred in France by Jean Renault and was voted the top plant of the year by the American Nursery and Landscape Association in 2010. Its creamy pink-and-white blooms, perched upon reddish stems, start out white in mid-summer but eventually transition to pink, giving them an ombre effect.
This gorgeous look has captured the hearts of many home gardeners, and you can see why. The two-tone flowers are stunning.
If you’d like to grow your own Vanilla Strawberry blooms, now’s not the best time — that would be in late autumn or, even more ideally, in the spring. But it’s never too early to plan.
All you have to do is choose a spot that gets a lot of sun and that has rich, well-drained soil (though you can use compost if the soil is less than stellar). Dig a deep, wide hole (about twice as wide as the root ball), place the root ball of the plant inside the hole with the stem sitting at the same depth in the soil as it was in its pot, and make sure to water it every day.

When your hydrangea is fully mature, it should reach about 6-7 feet, with a spread of 4-5 feet. The strawberry-red blossoms the plant is known for will last for about three to four weeks.
When the winter approaches, the hydrangeas will begin to lose their leaves. To protect your plants, cover their base with 6 inches of mulch. You can remove the mulch once the weather warms up again. Conversely, you could also use a rose cone around the base of your plant or wrap the plant in chicken wire, filling it with dried leaves for protection. Your plant will begin to grow again as the soil warms up in the spring.
As for pruning, you should do that in the late winter (though it may be better to hold off on pruning back your plant in the first year).
Finally, you should note that this plant does best if you live somewhere within USDA growing zones 4-8:

Will you give this beautiful plant a try this coming year?
This story originally appeared on Simplemost. Checkout Simplemost for additional stories.


